Resolving Flickering Light Issues
If you’re dealing with flickering lights, start by checking your bulbs for proper fit and compatibility. Inspect the light fixture for loose screws and clean sockets. Evaluate wiring for any damaged connections and make sure everything’s secure. Voltage fluctuations from appliances or circuit overload can also contribute, so monitor overall usage. If issues persist, it may be time to consult a professional electrician. There are more effective solutions to explore for resolving this common problem.
Key Takeaways
- Check for bulb compatibility with dimmer switches and ensure bulbs are correctly seated in their sockets.
- Inspect light fixtures for damage, loose connections, and corrosion that may affect stability.
- Evaluate wiring connections for looseness or damage, tightening any loose connections as necessary.
- Monitor voltage fluctuations caused by high electrical loads or malfunctioning transformers, and contact your utility provider if needed.
- Test bulbs individually to isolate faulty units and replace them as required to stabilize lighting.

Common Causes of Flickering Lights
Flickering lights can often be frustrating, especially when you rely on consistent illumination for daily tasks. One common cause is mismatched bulb compatibility; using LED bulbs on dimmer switches designed for incandescent can lead to significant flicker frequency variations.
Additionally, poor connections in the wiring or loose sockets can disrupt the electrical flow, causing inconsistent brightness. Voltage fluctuations from appliances or circuit overloads also contribute to flickering.
Moreover, the age of your bulbs plays a role; older bulbs may not maintain a steady light output. Identifying these issues requires careful inspection of your lighting setup; ensuring compatibility and secure connections can often resolve flickering efficiently.
Addressing these factors can restore reliability to your lighting system.
Checking Your Light Bulbs
To effectively resolve flickering light issues, checking your light bulbs is an essential first step. Begin by identifying the bulb types in use, as each type may have different installation techniques. Verify that the bulbs are properly seated in their sockets. Loose connections can lead to flickering.
Here’s a quick reference table to assist you:
| Bulb Type | Common Installation Techniques |
|---|---|
| Incandescent | Screw in securely, check for corrosion |
| LED | Verify compatibility with dimmers |
| CFL | Tighten firmly, avoid over-tightening |
| Halogen | Handle with gloves to prevent oil buildup |
Once you’ve confirmed proper installation, test the bulbs individually to isolate any faulty units. This methodical approach aids in pinpointing the source of flickering.
Inspecting the Light Fixture
After confirming your light bulbs are properly installed, the next step is inspecting the light fixture itself.
Different fixture types, such as recessed, pendant, or wall-mounted, have unique components that can contribute to flickering. Start by checking the fixture’s housing for any signs of damage or wear. Look for loose screws or connections that might affect stability.
Pay attention to the socket, confirming it’s clean and free of corrosion. If the fixture includes a dimmer switch, verify its compatibility with the bulb type.
Remember these installation tips: confirm the fixture is securely mounted and positioned correctly. Addressing these aspects can greatly reduce flickering and enhance the overall performance of your lighting system.
Evaluating Wiring Connections
While inspecting your light fixture is essential, evaluating wiring connections is equally important in resolving flickering issues.
To guarantee reliable operation, check for:
- Loose connections: These can cause intermittent power supply, leading to flickering.
- Damaged wires: Frayed or broken wires may create a poor electrical connection, impacting light stability.
- Corrosion: Rust or oxidation on terminals can hinder conductivity, contributing to flickering.
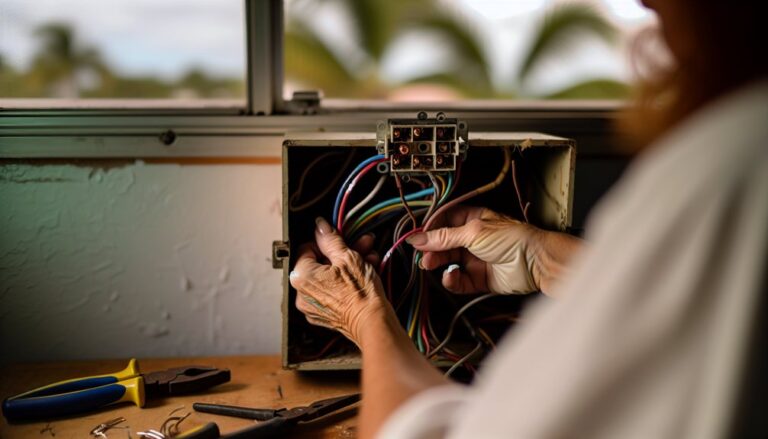
Begin by turning off the power and removing the fixture cover.
Examine all wiring for any signs of wear or looseness. Tighten any loose connections and replace damaged wires as needed.
Understanding Voltage Fluctuations
Understanding voltage fluctuations is essential for diagnosing flickering lights, as variations in voltage can directly affect a fixture’s performance. When you experience flickering, it often relates to voltage instability caused by changes in electrical load. Here’s a quick overview of factors affecting voltage stability:
| Factor | Impact on Voltage Stability | Possible Solutions |
|---|---|---|
| Electrical Load | High loads can cause drops | Balance load distribution |
| Wiring Issues | Poor connections increase loss | Inspect and repair wiring |
| Transformer Issues | Malfunctions can lead to fluctuations | Replace or upgrade transformer |
| Appliance Interference | Sudden usage spikes affect voltage | Stagger appliance usage |
| Utility Supply | External fluctuations from the grid | Contact utility provider |
Assessing Circuit Overload
Voltage fluctuations can often be traced back to circuit overload, a condition that occurs when the demand for electrical power exceeds the circuit’s capacity.
To assess whether your circuit is overloaded, you should consider the following:
- Total wattage of devices connected to the circuit
- Circuit capacity, which typically ranges from 15 to 20 amps
- Load balancing strategies to distribute power more evenly across circuits
If you find that the total wattage exceeds the circuit capacity, it’s essential to either reduce the load or redistribute devices.
Implementing load balancing techniques can prevent overload, ensuring your electrical system operates efficiently and safely.
Regular monitoring of your circuits can help you identify potential overload issues before they lead to flickering lights or worse.
When to Call a Professional Electrician
If you’re experiencing persistent flickering lights despite addressing potential overloads, it may be time to call a professional electrician. Knowing when to seek help is essential for maintaining your electrical system’s safety and functionality.
Pay attention to signs to watch, such as frequent circuit breaker trips, unusual buzzing sounds, or discolored outlets. These indicators may suggest deeper issues like faulty wiring or outdated circuits.
Additionally, if multiple fixtures flicker simultaneously, it could point to a more significant electrical problem. Don’t ignore these warning signs; they may lead to fire hazards.
Preventive Measures for Future Issues
To prevent flickering lights in the future, regular maintenance of your electrical system is crucial.
By prioritizing routine maintenance, you enhance energy efficiency and reduce the risk of flickering caused by underlying issues.
Here are three key measures you can take:
- Inspect wiring and connections: Regularly check for loose or damaged connections that can lead to voltage fluctuations.
- Upgrade outdated fixtures: Replace old light fixtures with energy-efficient models to minimize the chances of flickering.
- Schedule professional evaluations: Consider hiring an electrician for periodic assessments to guarantee your system operates at its best.
Implementing these preventive measures can greatly reduce flickering issues and improve the overall performance of your electrical system.
About Us
We understand that electrical issues can be stressful and overwhelming. That’s why we are here to lend a helping hand and provide you with the best electrical services in town. As a team of experienced electricians, we take pride in our ability to solve any electrical problem with precision and care.
Pages
Follow us
© 2026 By Electrician Fort Lauderdale Today


